
Steve Vroma never planned on growing his tow company to the level it’s at now. He was content responding to roadside assistance calls and doing what he could with a small fleet in southwest Michigan. Problem is the phone never stopped ringing,
and then his oldest son, Seth, got involved in the family business.
“I didn’t want to have a big operation,” Steve admitted. “I just wanted it to be a small father-son shop, but Seth continually went out and got more work. That’s not really what I wanted. I wanted less work. We were staying
busy and doing just fine the way it was. But Seth said no. He knew so many more people and kept getting more work. He’s why we are where we are today.”
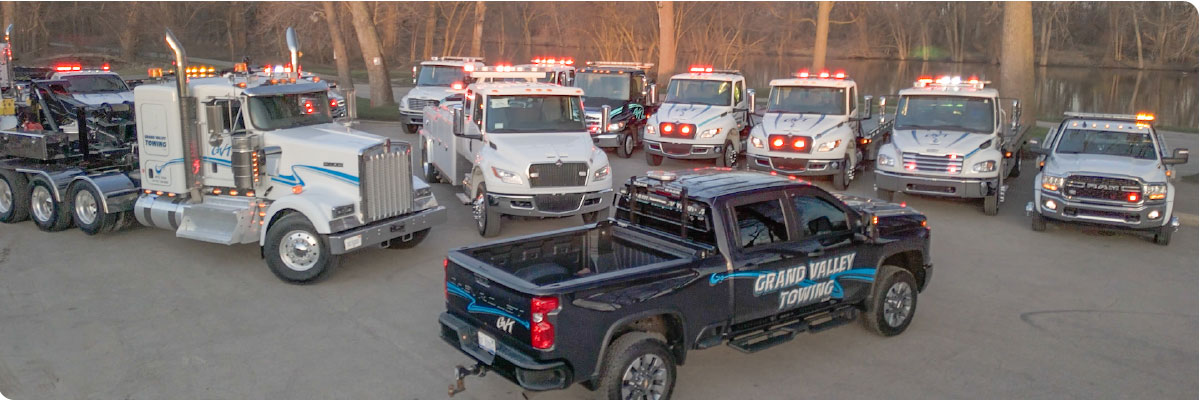
Selected for our latest Zip’s Spotlight, the Vromas opened Grand Valley Towing near Grand Rapids, MI, 12 years ago. They started out focusing on roadside assistance, taking care of tire changes, jump starts and lockouts in a green Honda
Civic. They eventually upgraded to a Chevy S-10 and later expanded into towing. The need for more help was obvious.
“In the beginning, it was just me, and there were so many calls coming in,” Steve said. “We were always hours and hours behind, and in the winter, there were times we were days behind because little ol’ me couldn’t
keep up. It was too much work for one person and the main reason we moved forward with hiring more drivers.”
Credit goes around
From those humble beginnings, the Vromas now employ 16 drivers and dispatchers and operate a fleet of 18 trucks in Kent and Ottawa counties. They still offer roadside help, but towing has grown to include light-, medium- and heavy-duty work. Starting
out in Allendale, MI, the company is currently based in Grandville with additional satellite locations throughout the area.
Despite their growth, both father and son stay involved in the day-to-day operations of the business and help out when and where they are needed. Those duties can include dispatching, responding to calls and performing maintenance. Leading by example,
they are not above cleaning the shop and detailing the trucks either, especially when it comes time to enter their equipment in local parades.
Working side by side, the Vromas can see and appreciate the contributions of their dedicated employees on a daily basis. “We have a great staff here,” Steve acknowledged. “Our employees are amazing. We couldn’t do our business
without them. It’s hard to find people who actually want to work, who want to physically put the labor in.”
A long-time wrecker driver, Steve brings more than 32 years of tow industry experience to the business, and you could say Seth, now 31, has just as much, having “grown up in a tow truck.” When he was younger, his father, who was a single
dad at the time, regularly took him on calls, placing him in a car seat on the passenger side. Little did they know, their father-son bonding time was laying the groundwork for a future partnership.
“Seth growing up in the business has been great for us,” Steve said. “He’s one of the best operators I’ve ever met. With him riding in the truck as a kid, he’s pretty much seen everything. There are always obstacles
when you have a father-son business relationship, but bringing him on was the right decision from day one. It was at the right time.”
Like most kids do, Seth wanted to follow in his father’s footsteps, and after a few dead-end jobs after graduation, he was ready to join the family business.
“I had finished high school and tried a few different jobs, but it just wasn’t working out,” Seth recalled. “I found I really didn’t like working for other people. Then one day, my dad came and asked me if I wanted him
to buy me a tow truck, and I said, ‘Of course. Let’s do it.’ All I ever wanted to do was operate a tow truck.”
Persistence pays off
While admitting they sometimes disagree over the direction and decisions for the business, the pair acknowledged that at the end of the day they are each other’s biggest cheerleader. The elder Vroma credits his son for the expansion and
growth of the business, while the junior Vroma appreciates the lessons and experience he’s gleaned from his father.
“I’m very proud of Seth,” Steve said. “As a young man starting out in this business, he had a little bit of a chip on his shoulder. Kind of a know-it-all in the beginning, but now he really does know it all. He
knows a lot. He’s still learning every day, but I could not have done this without him.”
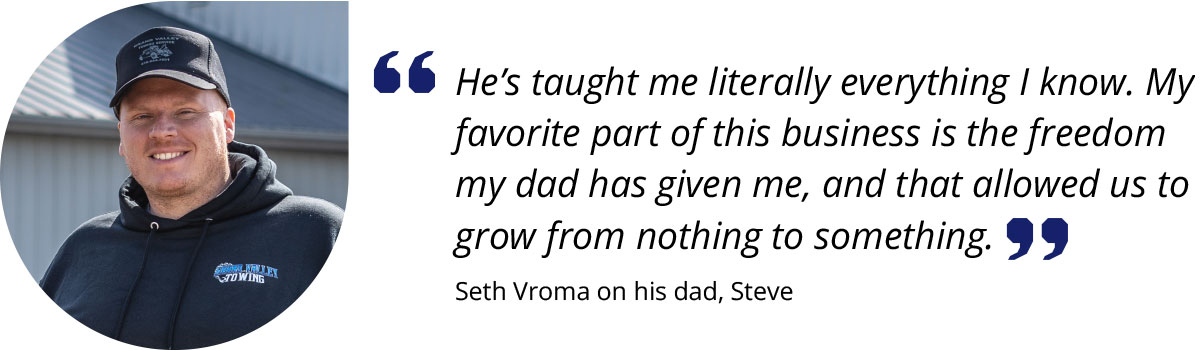
“Growing up in the business was fun,” Seth said. “I’ve been riding with my dad since I was two years old. I’ve seen and done a lot with him. He’s taught me literally everything I know. My favorite part
of this business is the freedom my dad has given me, and that allowed us to grow from nothing to something.”
The Vromas admit at the beginning, business was “a little slow at first with random calls,” but persistence paid off, as they drummed up new customers by word-of-mouth advertising and sending emails to prospective clients. Thanks to
Seth’s efforts, they eventually landed on the police rotation for both Kent and Ottawa counties among other contracts.
“Seth knows a lot of people and was able to bring on new accounts,” Steve said. “A lot of people switched over to using us for towing because of him.”
“Good things come to those who wait,” Seth said. “We learned to be patient. Nothing happens overnight.”
Customer service is paramount
Grand Valley has been a long-time customer of Zip’s, and the Vromas work closely with sales rep Aaron Lippert out of Zip’s Detroit location. Needless to say, the company has come a long way from the days of operating out of the trunk
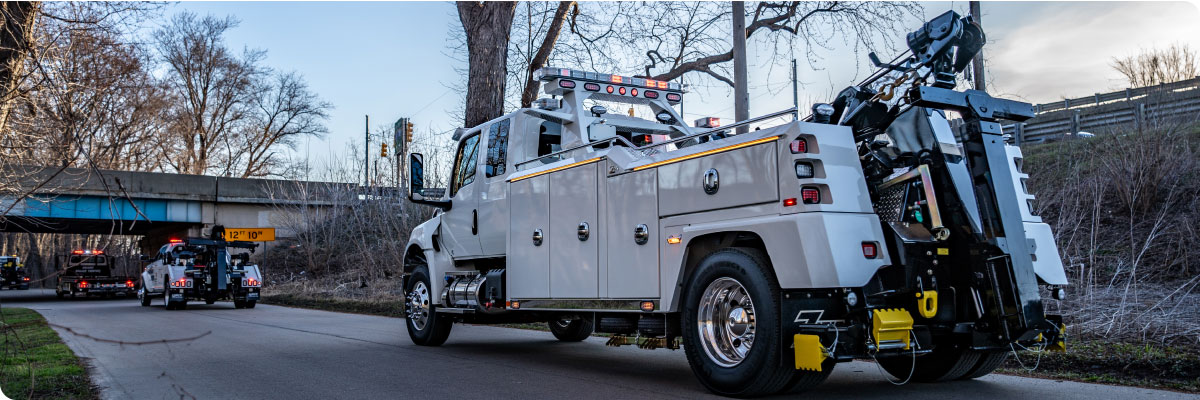
of a used car. The Vromas quickly identify and recognize the advancements in the manufacturing and technology of wreckers which have made their lives easier.
“The equipment is so much nicer and modern now. Very high tech equipment. We’re not rolling around in junk any more,” Steve said, adding how improved towing rates have helped with equipment updates. “A lot of people don’t
understand what it costs to run a towing company. You have to charge good rates to pay for your overhead.”
To keep the phones ringing and the bills paid, the Vromas believe in providing excellent customer service. Keeping people happy and making sure the roads are cleared in a timely manner are what they feel separates them from the competition.
“Our main purpose in business is to make sure our customers are 100 percent satisfied,” Steve said. “We want to get to them quickly and provide good friendly service. Our business revolves 100 percent around that. Worry about
the money and the revenue last. Focus on taking care of your customer first and the money will come with that.”
Maintaining their customer base is the key to the future. Whether the company continues to grow or simply maintains what they currently have remains to be seen. For now, Steve’s motivation is building a future for his son. When asked
where the company will be in 10 years, Steve offered a measured response.
“Hopefully, we’re not much larger. I don’t want to buy more trucks. I don’t want to buy more equipment,” he admitted. “I want to maintain what we have and replace as needed. My long-term goal is to focus
on the heavy end of the business and the equipment transport while still doing the towing side of things.”
“I continue to push forward with this business, number one, for Seth. This is his company,” Steve continued. “Sure, working with him every day has its challenges. We still make each other mad, but at the end of the day, we come
together and make good decisions and do what’s right for our company. I couldn’t do this without his help.”
